Dinner Rolls
If you love soft and buttery dinner rolls, then you’ve gotta try my dinner roll recipe.
These dinner rolls will be ready in a moment, so let’s get started.
Activating the Yeast
First off, we’re gonna wake our yeast up in a bath of milk and sugar. Warm one cup of milk to 110 degrees Fahrenheit. Snip off a little bit of yeast—one packet—and add that in. To help it wake up, we’re gonna add one and a half tablespoons of sugar (this recipe uses three, so just add half of that in). It doesn’t have to be exact. Give a little stir. We’re gonna set this aside for about five to seven minutes, and when you come back you should see it foaming, frothy, and basically yeast waking up and saying hello.
Preparing the Dough Base
While our yeast wakes up, melt five tablespoons of butter in a small bowl. Get that mixer out and let’s measure the flour as well. We’re going to use three and a quarter cups (390 grams) of all-purpose flour for these dinner rolls, and I’m using a scale because that is the easiest way to measure things out precisely. One handful less and that is perfect.
One final tip before I add my warm milk back in here: this bowl is actually ice cold, so I’m gonna run this under some hot water just to warm the glass up, pour it out. Just that little bit of extra work really helps the bread kind of wake up more easily; I don’t like shocking the temperature back down with ice-cold anything.
Let’s check on our yeast. I’m using the proofing drawer today, so it’s really nice and cozy, and as you can see this is so bubbly it looks like a witch’s brew—almost. It’s ready to pour into our mixer.
Mixing the Dough
Into the mixer you go, and you can use your spoon to get all that frothy stuff out as well. To my milk mixture I’m gonna add five tablespoons of melted butter; this is gonna make it so rich. These dinner rolls are addictively delicious—they’re so soft, melt-in-your-mouth, and just really perfect. Add the rest of the sugar in there. We’re going to crack one egg, give it a whisk, and finally we’re going to add half of the flour in right now. Give it one more whisk just to bring it together; at this point it smells amazing and looks kind of like a cake batter.
To my remaining flour I’m adding one teaspoon of salt. The salt is not a friend of yeast—yeast doesn’t love salt—so I like to add that in at the end after it’s had a little bit of a head start. Now we can add the remaining flour into our mixer with a dough hook. Lock it off and we’re gonna mix this for about two minutes. You’ll see the dough start to come together. In theory your mixer can finish kneading for you, but I always like to finish kneading by hand; you really get a feel for the dough and it’s also kind of fun too.
Have it on a medium speed, mix it up for two minutes, and just keep an eye on it. If you need to, you can always scrape the bowl down.
Kneading and First Rise
Right now you can see the dough came together. Use a clean finger, tap the dough with your finger—it shouldn’t stick to your finger and it should bounce back. Also, it’ll look smooth. We’re going to keep kneading this for just a minute and then we’ll switch to hand kneading.
We need a little sprinkle of flour for your work surface—not too much. Now we’re going to get this dough out. It’s an enriched dough, which means there’s butter in there, fat from the milk and the sugar, and everything else. If you’re making enriched dough like you would for cinnamon rolls or sticky buns, you know that it’s going to be delicious. It also needs more rising time because the yeast has to work extra hard, so just keep that in mind and know that this is going to need a little bit more than an hour—maybe up to two—to double in size.
Work the dough: you’re stretching it out. See what’s happening with your dough—does it look smooth, is it bouncy? This looks pretty smooth; it’s bouncing back really nicely. Now finally, the windowpane test: pinch off some dough and there you go—look at that. It’s not tearing and I can see light through it. It’s beautiful. I love this dough so much; I really hope you make this.
A little bit of oil for a bowl so the dough doesn’t stick, plop it in there, and we’re gonna proof this for about an hour and a half—maybe two hours. It’ll double up in size. All you need to do is cover it in plastic and place it in a cozy spot. You can either just put your oven light on and keep it in there, or maybe turn your oven to 100, let it heat up, then turn it off and pop your dough in there.
Shaping the Rolls
Our dough has doubled in size—look at this monster, I love it. All we have to do is divide it, make it into little balls, and proof it again. This has two rises, but it’s so worth it.
We’re not going to flour our counter this time, so dump the dough out. You can flatten it a little bit if you want, and I’m going to divide this into about 16 equal pieces. That’s easiest if you just use a bench scraper. We’re going to divide this into quarters and then eighths and so on.
Here is the secret to making a beautiful roll: it’s really easy—you just have to know the technique. Get your dough and we’re going to fold it over on itself so it’s a pretty side and a wrinkly side. Then take it in your hand, make a little circle with your middle finger and your thumb, and then just use small circular motions and it’ll corral it into a little ball. Look at that. We can set these aside until they’re all done. If you have little helpers in the kitchen, it’s a really fun activity as long as their hands are clean. You can do this for making hot cross buns, dinner rolls, any kind of roll.
We’re going to transfer these into a 9-by-13-inch baking dish. I’m just going to lightly butter it. Plop these into our baking dish; they need a little bit of room to grow, so don’t crowd them out too much. These are ready to pop into a warm and cozy place for about an hour to rise again. Just cover them up so they don’t dry out, and then they’re ready to bake and brush with butter—the most important part.
Baking and Finishing
This is ready to go into the oven at 350. Look at how beautiful they are; I wish you could smell them—they’re amazing. Okay, 350— in you go. They’re gonna get nice and golden, and then we finish them off with butter; it’s gonna be delicious.
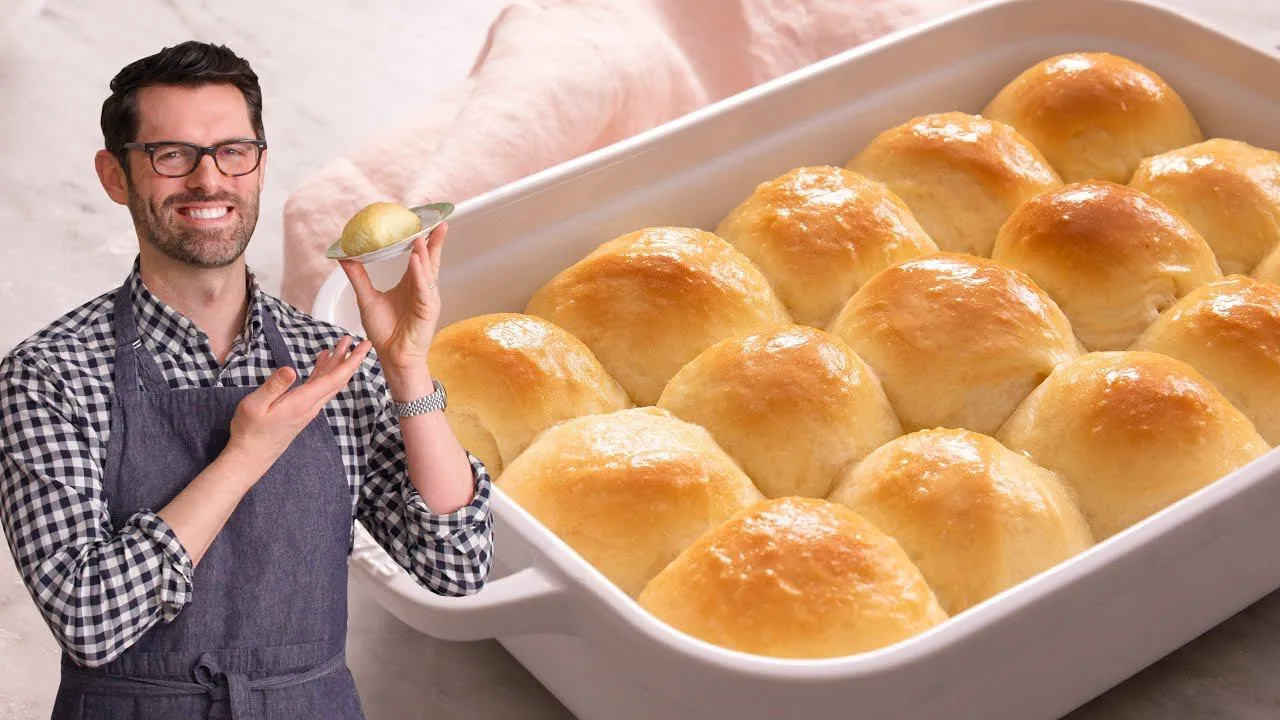
As soon as they’re out of the oven, brush them with melted butter. Look at this golden color—it’s a beautiful thing to behold. Brush generously with the melted butter; it’s going to give them just a little bit of extra richness and added shine and make them so indulgent.
After your roll has been brushed with butter, let them cool down just a little bit and then serve warm. These are going to be the best thing ever. These guys will be gone in a flash.
Leave a Reply