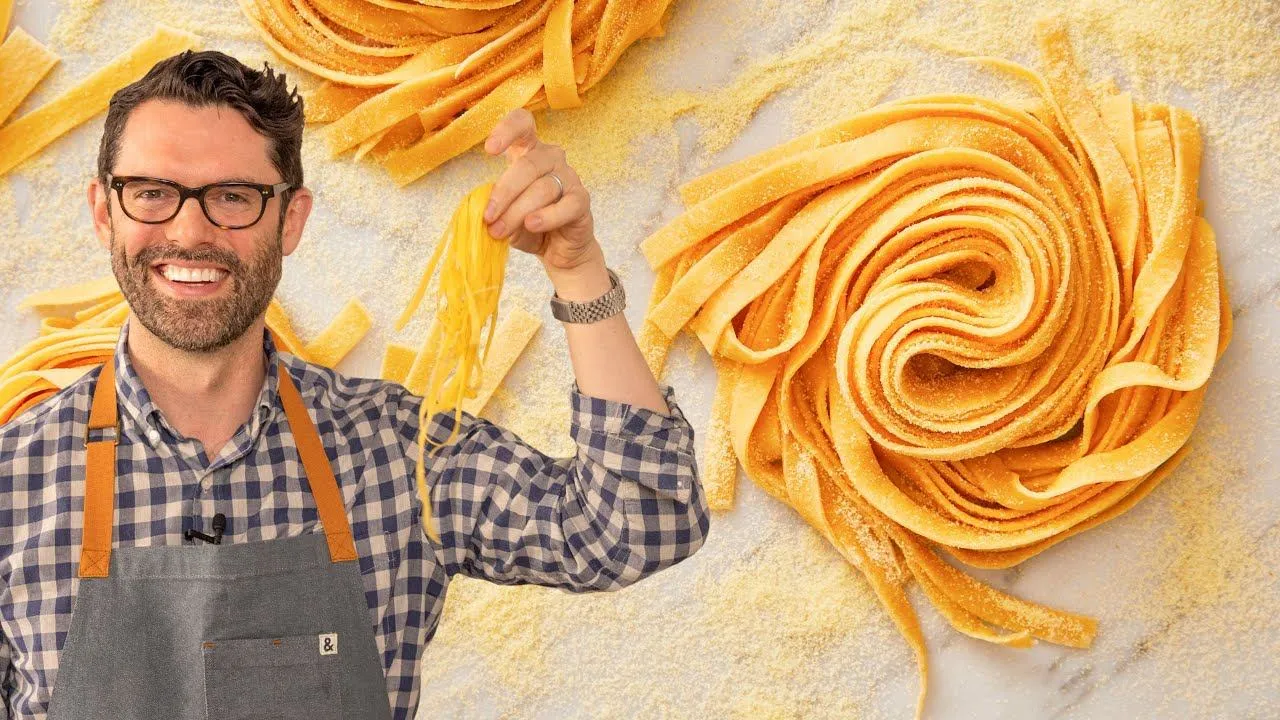
Easy Pasta Dough Recipe
Hey I’m John Canel and today on Preppy Kitchen I’m giving you all my tips and tricks to making the best fresh pasta dough so let’s get started.
Ingredients and Flour Choices
First off I need 2 cups or 240 g of flour. But what kind of flour you might be wondering? This is all-purpose flour; this is double-zero flour. A lot of times you might be hearing “double-zero flour is the way to go.” I’m wondering why and what is double-zero flour? Double-zero flour just has a very fine mill so it’s powdery soft. This is great for giving you really loose silky pasta.
Building the Flour Well
Dump the flour right onto your clean counter. Grab a measuring cup; we’re going to make a little well in the middle—actually a nice sized well to be honest—should have some good walls and look like a pasta volcano. If you’re making pasta dough you can scale this recipe up almost as much as you want; you can have like a giant mountain of flour and a mountain of eggs. It just takes more skill to mix it all together, divide it, and everything else. Feel free to double, triple, or even quadruple this recipe.
Adding Eggs and Seasonings
Into my well I’m adding three eggs. If you wanted to you could beat them up a little bit beforehand, but we’re going to do all the mixing on the counter today. Half a teaspoon of salt goes right over the eggs. I’m also adding a tablespoon of olive oil. There are various traditional types of pasta that you could make: some just have flour and water, some have tons of egg yolks mixed in, and then you go to the fancy places with all the different flavorings. I used to like having squid ink in pasta because it looks so dramatic.
Mixing the Dough
Now we’re going to do the fun part, and this is where it could get messy. You really should have a nice well in the middle of your flour mound. Grab a fork and start beating it up. As you mix the eggs you’re drawing in some of the flour; you can also start scraping in some of the flour just like this and mix, mix, mix. Eventually you’re going to have more and more flour brought into the eggs and it’ll become a delicious dough. Fresh pasta dough is so good; you can use it to make any kind of noodle, sheets for your lasagna, or homemade ravioli.
Switching to a Bench Scraper
At a certain point there’s like no way to maintain your well. I have a bench scraper here; this is going to be really handy for mixing things up, but you can also use your hands. Now even though my well is destroyed the dough is so thick it’s not oozing out. At this point I’m going to switch to my bench scraper, fold it in just like that. By the way this is not going to look amazing right away; it’s going to take some time and patience. All that gluten we’ve developed from the kneading really needs to rest, so it’ll take half an hour at least of rest time for it to become pliable and silky.
Adjusting Consistency
If you’re making your pasta and it looks a little bit wet right now—too sticky—you can add in up to ¼ cup of flour; just knead it in with like a tablespoon at a time. These eggs are large eggs, but I swear whoever is categorizing egg sizes is like just straight tripping. Sometimes I’ll buy extra-large eggs they look like little quail eggs—like what’s going on? My point: weigh that. If the eggs are a little bit larger you’re going to add more liquid in and you need more flour. So in this recipe I’m saying 2 cups to 2 and ¼; kind of depends on your eggs.
Kneading Technique
I’ve switched over to hand kneading, and because I used the bench scraper my hands are like fairly clean. If you did this by hand they’d be like a wreck. If you’re wondering why some recipes call for semolina and also like why they say “bronze cut” on a lot of these packages: bronze cutters will give you a rougher cut, and it’s my understanding that that gives you more craggy places for the sauce to rest. The same thing goes with semolina flour; it’s going to give you a coarser pasta that really holds its shape well and has all those nooks and crannies that your sauce can really find a place to rest in.
I’m kneading this right now and you can see the pasta dough is kind of breaking as I knead it. The gluten has not been developed yet so it’s actually just pulling away. Once the gluten is developed it’ll have a stretchy, elastic, silkier texture to it. You’re going to be kneading this for 10 to 15 minutes. It might sound like a long time but really think of it as your kitchen meditation; it’s actually really relaxing. Back and forth—I like to fold the dough over slightly and press forward, slight press forward, slight press forward—and you just keep doing that. You’ll notice the change in the dough.
If it looks at all wet, remember you can add up to a ¼ cup of flour a little bit at a time. If it looks really dry you might have mis-measured your flour, but as the liquid is absorbed into the flour it should become nice and silky. If it just doesn’t, you might have added a little bit too much flour, and in that case I would just add in like a teaspoon of olive oil just to soften it up and knead that in. Yes, all these things have happened to me in the past so I’m telling you from personal experience.
Checking Gluten Development
I’m getting closer on my knead. You can see this looks nice and smooth, and let’s see how it pulls—it’s stretchier. It’s not really going to be like a bread dough where it has that wonderful pull because that’s a much softer, looser dough. Pasta is like pretty firm, but you will see it’s smooth, it’ll bounce, and it can stretch a bit. My internal timer has gone off; I think this has been kneaded enough. It looks nice and smooth, and if I use my finger—give it a poke—it bounces back so it has some elasticity, but it’s too active right now. It needs to relax and just chill out.
Resting the Dough
We need 1 to 3 hours on the countertop. You can wrap it in plastic, or I have these beeswax wraps—pieces of fabric that are coated in beeswax. They’re reusable and they’re great. You could also refrigerate this overnight if you wanted to come back to it the next day. So: rest time.
Double-Zero Flour Batch
We are back. While my all-purpose version rests I’m going to make my batch of double-zero pasta dough; we’ll see if we can tell the difference. This kneads up just like before, but—ooh—it feels much silkier. Nice. This feels so much nicer; I’ve never made them back-to-back before and appreciated just how much more supple it is. I’ll wrap it up; it also gets a rest, and then I’ll show you how to roll it out.
Rolling the Dough
My pasta dough rested. I’m grabbing my rolling attachment for my KitchenAid mixer. You can definitely use a hand-crank pasta maker too, and even a rolling pin to do this. Screw that on nice and tight. I’m cutting my pasta dough into four pieces to make it more manageable, and I have some flour at hand. You can use the flour that you made the pasta with, or you can also use semolina flour.
I’m going to pat this just into a square shape. The pasta just has to be thin enough that I can pass it through my very first setting, which is a one, on low. We’re going to pass this through once, twice, and even a third time. If you have one of those big hand-crankers you can turn the pasta each time, but this only has like 8 inches for an opening.
Folder Technique for Structure
Take your pasta and I’m going to fold it in thirds, and now we’re going to pass it through a couple more times. There we go. This will give your pasta a little bit more structure; folding is a bit of an optional step though. I’ve definitely made pasta with no folds—it turns out just fine.
Thinning the Sheets
Now I’m reducing the thickness of the pasta, so go one number at a time and pass it through at least twice. I’m going to add just the slightest sprinkle of flour—really minimal—just so nothing catches in the rollers. If it starts catching, or if you turn the dial too far and you jump a few numbers, it’s going to have like these stretch marks and just not be as silky and supple as you see right here.
It’s also important to support your pasta evenly, so don’t pull at it from one point; give it the support of the back of your hand and don’t tug at it—just let it go through. At this point, when you get to number six, seven, and eight, you do not want any wrinkles, so if your pasta starts wrinkling don’t let it do that.
If this feels unmanageable and super long, it’s because it is. It doesn’t have to be this long; you can cut it into lengths of your choosing—it’s however long you want your pasta to be. I got to number seven; that’s a great thickness for your pasta, so you can stop there. If you want it ultra-thin, go to the last setting, number eight.
Cutting Noodles
Just like that your pasta is done. These large sheets of pasta are perfect for making ravioli; you can use them for lasagna and several other things. But if you want to cut them with your machine, slap a fettuccine attachment on and you’re just going to feed it through. It’s a good idea to add some flour to both sides so you can be sure that nothing sticks. I have to tell you this is so satisfying to watch—it’s like my favorite part. Perfect pasta noodles ready to cook.
Hand-Rolling Option
But if you don’t have a pasta roller, grab a rolling pin, a little bit of flour for your counter, and just get to work. It’s as easy as rolling any dough out, and actually pasta dough is pretty forgiving because it’s a little bit more dense than your normal dough. This time I am not going to be doing the envelope method. What you do want to see is a floured surface on both sides so nothing sticks, because the pasta has to be able to move as you spread it. I’m not cheating per se, but I am using the double-zero pasta dough because it is noticeably silkier and looser, so it really rolls out easily. If you don’t have a pasta machine but you want to make some pasta at home, double-zero flour is going to make it a little bit easier.
Hand-Cutting Noodles
I’m going to show you how to cut the pasta, but I’m not cutting on my marble countertops—they’re too delicate. A little bit more flour and fold this over. So flour as you go; you can cut your pasta to any width you’d like. I’m going to go for a slightly thicker noodle—just give it a cut. One thing I will say: it’s important to unfold your pasta; don’t leave it all crinkled up because it will dry and kind of stick together.
Storing Fresh Pasta
If you’re making pasta, chances are you’re not going to cook it all right now, or you might. But if you don’t want to, you can freeze this for later. That’s why we’re going to form a pasta nest. Take some fingers and just twirl it into a nest. Now this can get frozen on a sheet of parchment paper and then plopped into an airtight container and kept frozen for about a month. Then just put it right into your boiling water and cook from frozen.
Fun Shapes: Garganelli
Just for fun I wanted to see if I could make a penne-type pasta. None of us have an extruder at home, but some of you might have a gnocchi board. So: one square of pasta right on the board, little rolling pin, and you’re just going to press and roll it together and it forms a penne-like tube of pasta. This is a little bit large, but it’s kind of up to you. Nice, and the ridges will help sauce and delicious things hang onto your pasta. So if you wanted to make a penne-style pasta you can do it with your board. This is called garganelli—I did not take Italian so forgive me.
Obviously this is a labor of love, but it’s actually really fun. So if you wanted a project to keep your kids busy or if you have a rainy day, I would suggest popping this out, making the most amazing handcrafted meal ever.
Cooking the Pasta
When you’re ready to cook your pasta, bring a large pot of water to a boil, salt well—very important—and then cook for three or even five minutes depending on the thickness until it is tender and delicious.
Final Taste Test
My pasta is cooked. I’ve tried both, and I have to tell you they’re both so good. The double-zero flour is ever so slightly silkier; the main difference is it’s so much easier to work with, especially if you’re rolling it out by hand. I hope you get a chance to make this recipe.
Leave a Reply